

Hello again everyone. It seems that the long run of summer weather we have been enjoying here in the UK is beginning to end. Rain is forecast in the next few days, and will no doubt persist until its time to return to work in September. Thankfully, I have made good use of the the power of the sun to dry much of my gameboard. If you have been following this project, you will know that the last time we spoke I had just finished the carving of the polystyrene I was using to create the surface of the board. Well, since leaving that to dry for a few days I coated the lot in PVA glue and covered the boards in sand (as can be seen in the photograph above) before coating the dried sand with a liquid wash of PVA to help secure the sand in place.

Once this had dried out enough (only a few hours in the summer sun) I was able to basecoat the sand in a nice brown tone mixed up from the kiddie friendly paints I found in the garage. I even had a few chaos spawn appear to help me get the first coat finished!

Once the basecoat was dry, I build up layers of highlights simply by adding yellow and white to the original mix. I found that by adding the yellow as well as the white the highlighted shade became more natural looking. For a while I pondered exactly what my board would look like but then I considered my materials. They were designed to show the chalky landscapes that I grew up on in Dorset and Devon, so I opted to create that style of surface.

I used a spare piece of polystyrene to help mix up yellow and white in increasing amounts as I drybrushed the surface up and you can see the finished result in this photograph. I hoped to achieve a chalky clayey effect and I think I pulled it off, despite my limited materials.

Packets of high quality German flock had resided in my garage for some time (though one was supplied by Stuart the other day) and they were just waiting to be used on a project. The colours would be perfect when recreating the type of landscape I was looking for. The picture below will give you some idea if you are unfamiliar with the area I am speaking about.
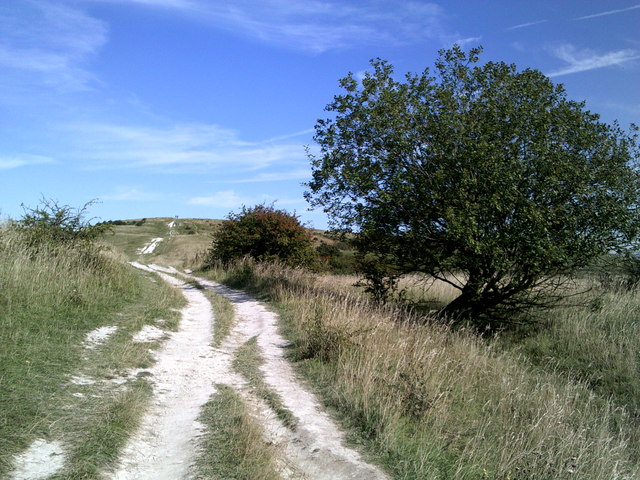
In the future I hope to add further lines of static grass and flock to create that rutted, pathway look these paths have.

I coated the entire board with PVA, save for a few areas that would remain dead and the crossroads I decided to include after discounting my river idea. I then sprinkled on the static grass starting with the lightest colour and working up to the darkest. I ensured that I mixed the colours somewhat to avoid that dreadful 'single tone of green' boards you see kicking about. Once dry, I stood each board up on end over a large plastic box and knocked off the left over static grass. I used about two bags to cover the whole board and easily reclaimed a bag's worth by doing this. Re-cycling static grass after a project like this makes good sense in my opinion.

To create the chalk effect, I simply used an Army Painter can of spray to highlight the road surfaces. At the moment I feel like its too white, and should perhaps be darkened down with a yellow ochre wash but we will see how things look like in the morning. I certainly need to make the edges of the road more natural and less straight. I shall be using that mix of static grass I saved by tapping off the surfaces to do much of that. But considering I have spent practically nothing on this board I am pleased about how it its looking at the moment. What do you guys think? Any comments or ideas to share?

I was reading a professional terrain maker's blog yesterday - he said to use an old toothbrush to smooth static grass into the surrounding board, to give a more naturalistic change from ground to greenery.
ReplyDeleteI use a small paint brush to do this, though I have found laying newspaper over the board once the grass is all down also helps you merge the colours if you lightly press down with your hands.
DeleteLooking good so far. Loving the chalk paths idea, and the child labour.
ReplyDeleteLooks good so far old son. My current board is comprised of two 2'x3' sections of mdf strengthened by wooden frames. These are textured with aquarium sand, painted and flocked with an autumn blend of static grass. Not massively exciting, but they do.
ReplyDeleteLooking very nice so far! The grass turned out quite nice and not too monotone. Personally I'd add a few tufts to add a bit more variety, but the table looks very nice already.
ReplyDeleteAnd using child labor is always a great idea. Get them into the hobby while they are still young and can easily be fooled into tasks like these :)
I have added the tufts to the roadway and along its edges to help give it that natural 'this is a real place' feel.
DeleteWonderful Blog and wonderful board!
ReplyDeleteI am rebuilding mine after some years of inactivity, and your work is an inspiration for me.
Just a technical question: have you coated a second time with PVA the static grass?
Thank you!
No, just one coat of PVA and then the static grass is sprinkled on top. I leave the grass pretty deep in places and give it a good few hours drying before knocking it off. I then use a hairdryer to clear away any residue grass.
Delete