

A few posts back I suggested a tutorial about my tiger faced shield, inspired by the old 1970s and 1980s symbol used by the publisher, Paper Tiger. Feedback was positive so here it is. As with previous tutorials, I opted for a large, plastic Citadel shield. I have just bought quite a few new sprues from ebay so I am keen to try out a fair few new designs, including an owl face. They are fairly easy to get hold of if you are patient, but don't even think about forking on some of the more ridiculous prices you will see. Pay no more than a pound or so for a sprue, and less is much better!
I always keep a part of the sprue attached to the shield as it makes handling the surface much easier in the long run. The hole in the centre is quickly filled with greenstuff and smoothed down. Once dry, give the shield a couple of thin coats of white undercoat.

Step One: I mixed Hobgoblin Orange with an orange ink to get a more vibrant colour. This mix was fairly watery, so I gave the shield a couple of good base coats until things were looking pretty even. I made use of a hairdryer to speed up this drying process.

Step Two: Mix up a watery white and splodge on the two shapes shown above. There is really no need to be particularly accurate at this stage.

Step Three: Add a mid yellow to your orange mix, and use this to highlight up the shape of the tiger's face. Try and suggest the brows and the muzzle as well as the cheeks. You can use this as an opportunity to tidy up your white. Leave the basecoat orange where the eye holes are going to be.

Step Four: Add a further blob of yellow to you orange and continue to work up the highlights. You may want to also include more white on the brow and around the tiger's mouth here, as it is a good opportunity to tidy things up a little. Ensure that the basecolour still shows in the the sockets.
Step Five: Start adding the black detailing. I use black ink, though you need to be aware that the mix is far more fluid than paint. Make good use of test strokes with your brush before working on the shield, this will reduce the risk of pooling the ink and spoiling your work. Fill in the eyes in a suitably feline shape and define the nostrils and mouth.

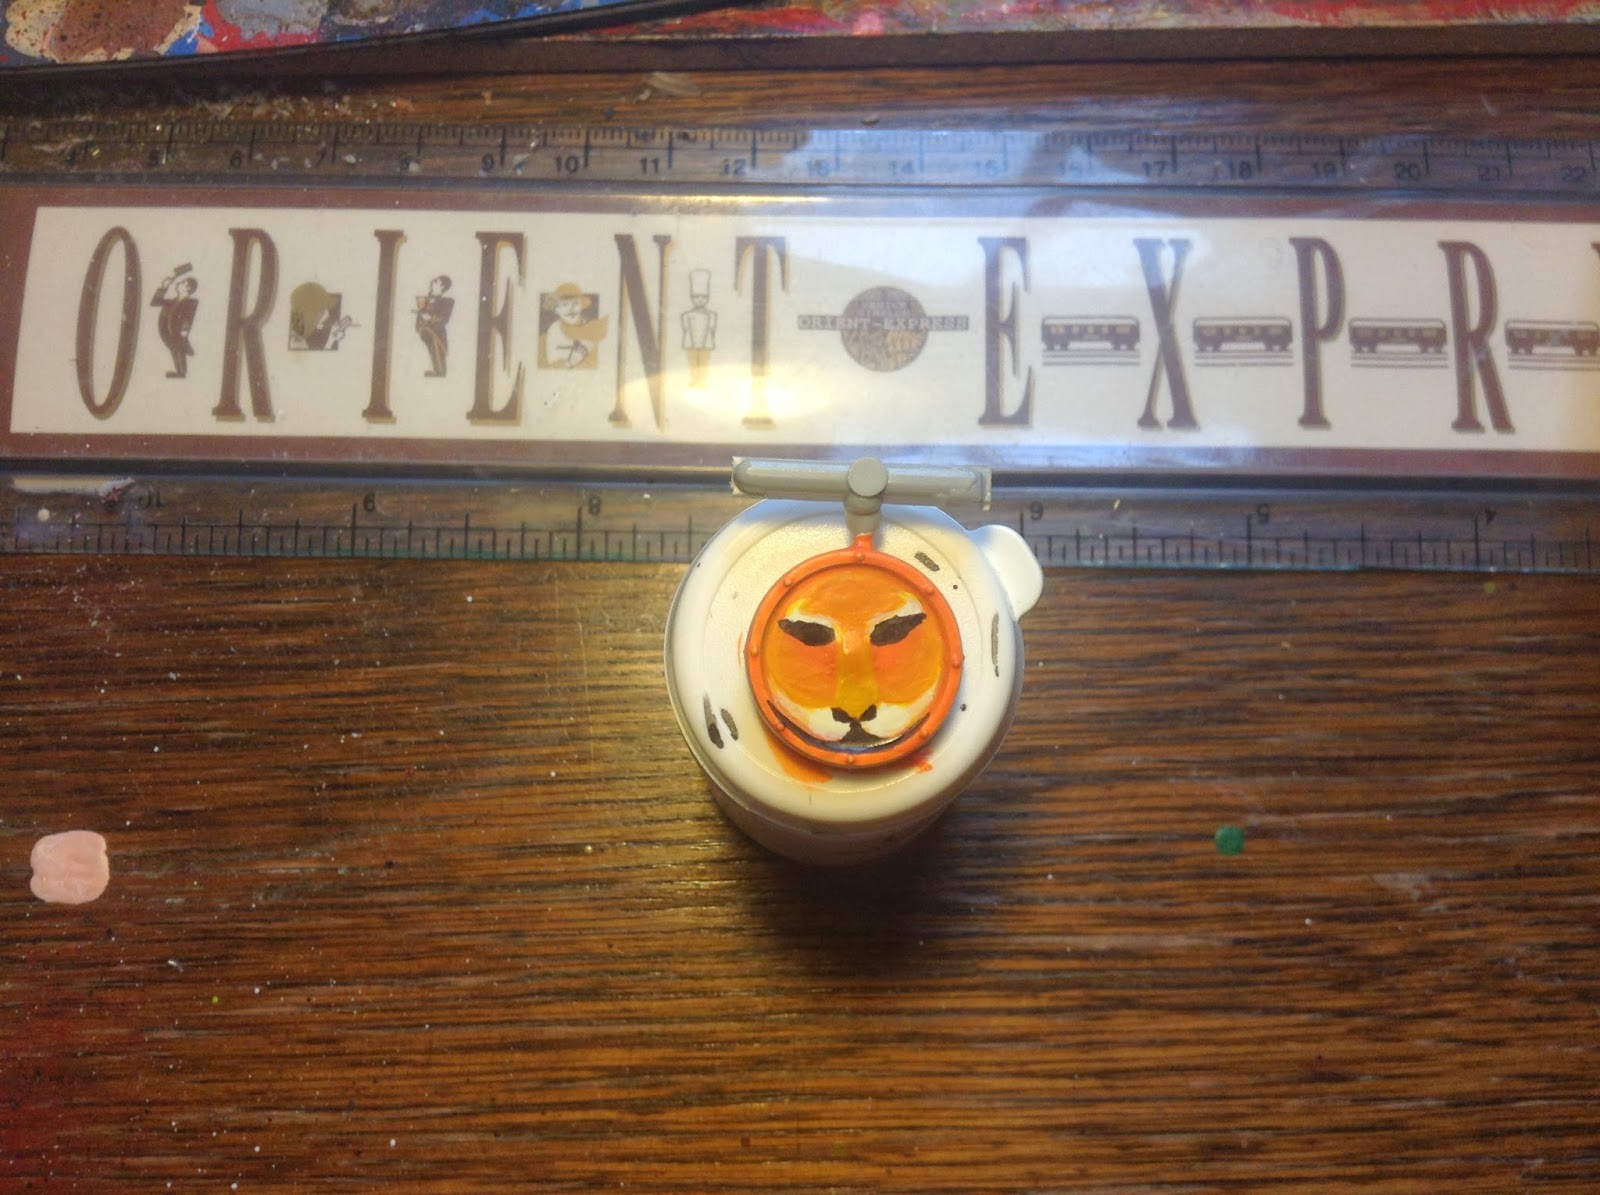
Step Six: Add the black detailing to the eyes and nose. Good reference material is vital here (such as a picture of a real tiger or the Paper Tiger design shown above) and make sure that whatever you do on one side of the face is mirrored on the other. These lines need to be added quickly. Be confident and move your brush with speed. You may want to practice this on paper first.

Step Seven: Tidy up the brows and then continue to add the detail on the animal's forehead. Once you are happy with the way things are looking, block in the shield with black.

Step Eight: Using the black in once more, create little dots around the tiger's mouth and add two white dots for the eyes. Be careful here. Practice making dots with your brush if you haven't done this before as too much ink will cause pooling and too little with produce nasty marks that are not circular enough.

Step Nine: Dot the centre of your white eyes with a smaller black dot. Once this is dry add a smaller white dot on top of the black one. This should cause your eyes to 'pop' and the design to suddenly become alive. I added a few dots of silver to the nail details on the shield rim too!
Job done!
Happy painting!
Orlygg.
Most excellent sir! I shall be forced to attempt to replicate this in purple with buboes and attach it to a Nurgle figure...
ReplyDeleteAwesome, thank you for posting.
ReplyDeleteI will at some point try this out and post the results :)